Aluminum die casting defects and their causes
Date: 2024-12-10 Categories: Blog Views: 1428
Three elements of die casting
Die casting machines, die casting alloys anddie casting moldIt is the three main elements of die casting production, and you can't have one without the other.
The so-called die-casting process is the three elements organically and comprehensively, so that it can be stable rhythmically and efficiently produce the appearance, good internal quality, dimensions in accordance with the drawings or the agreement requirements of the castings.
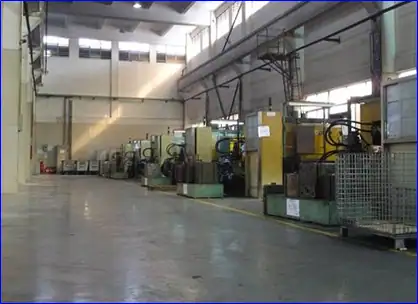
Criteria for company inspections
1. Controlled information: drawings, quality control sheets;
2. National standard, line standard (JIS die casting standard);
3. Sample customer limits
Parts of the die casting that are prone to variations in dimensions:
1、Slider
2、Core
3、Dividing surface size
4、Top bar (the most economical guideline within the company, except for special requirements)
The inner surface of the top bar can be raised or recessed within 0.30mm relative to the body of the casting.
The top bar of the outer surface (polishable part) can be raised within 0.30mm relative to the body of the casting (non-polishable part is recessed within 0.30mm).
The sealing groove edge and the top bar of the part edge can be raised within 0.30mm relative to the casting body.
Major defects in die casting
2、External defects: cracks, cold segregation, wrong type, interlayer, billet front is too large (up type), bubbles, shrinkage, undercasting, carbon, sticking to the mold, strain, collapse edge, flow marks, pitting, scouring, cracking, top drum, knocking wound
2、Internal defects: pores, shrinkage holes, sand holes, underfilling, leakage, mechanical properties do not meet the standards
3、 Dimensional defects: deformation, excessive shrinkage
4、Material defects: hard points, environmental requirements, chemical composition is not qualified
Classification of die casting surface defects
1、Internal defects: including air holes, shrinkage holes, sand holes, loose
2、External defects: cracks, cold segregation, wrong type, interlayer, billet front is too large (up type), bubbles, shrinkage, undercasting, carbon, sticking to the mold, strain, collapse edge, flow marks, pitting, scouring, cracking, top drum, knocking wound
Stomata:
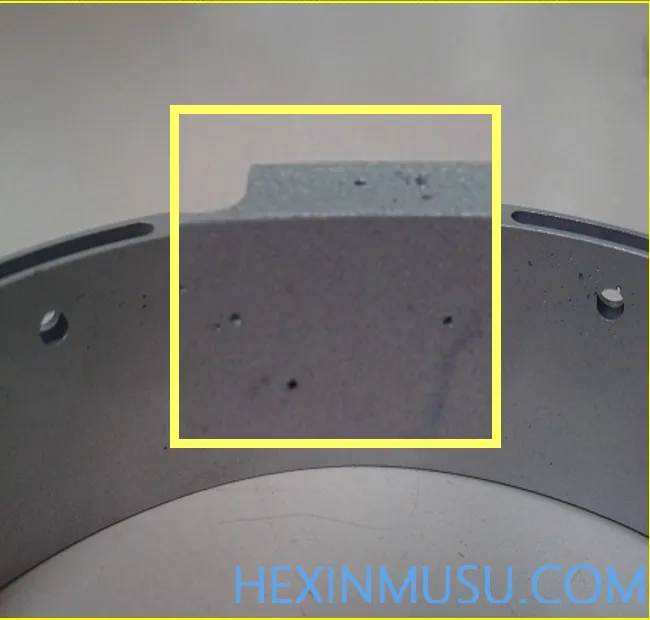
Characteristics: holes with a regular shape and a smooth surface
Classification: pinholes, subcutaneous air holes, concentrated large air holes
Reason:
1. Poor refining, poor degassing
2. Poor exhaust, mold design is not reasonable
3. The injection speed of the inner sprue is too high, the secondary injection speed is not in the correct position, and the gas in the mold can not be discharged in time.
4. Mold cavity is too deep
5. Excessive machining allowance
Means of inspection: machine processing, polishing
Shrinkage:
Characteristics: castings in the curing process due to insufficient compensation caused by the shape of the irregularities, the surface of the rougher holes.
Reason:
1. Material temperature is too high
2. Specific pressure too low
3. Uneven wall thickness produces hot joints
4. Overflow channel too thin
5. The pressure chamber is not full enough, the cake is too thin, compensation is limited.
6. Smaller inner gate
7. Mold local temperature is high
Means of inspection: machine processing
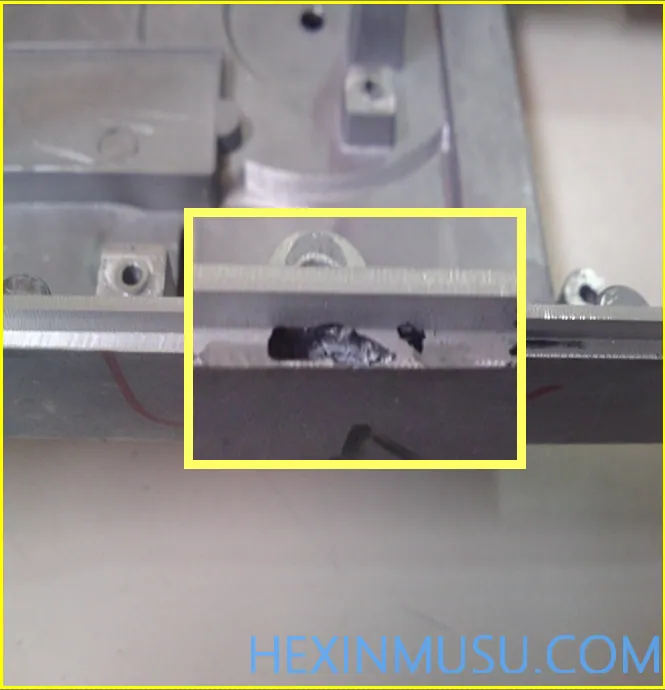
Trachoma:
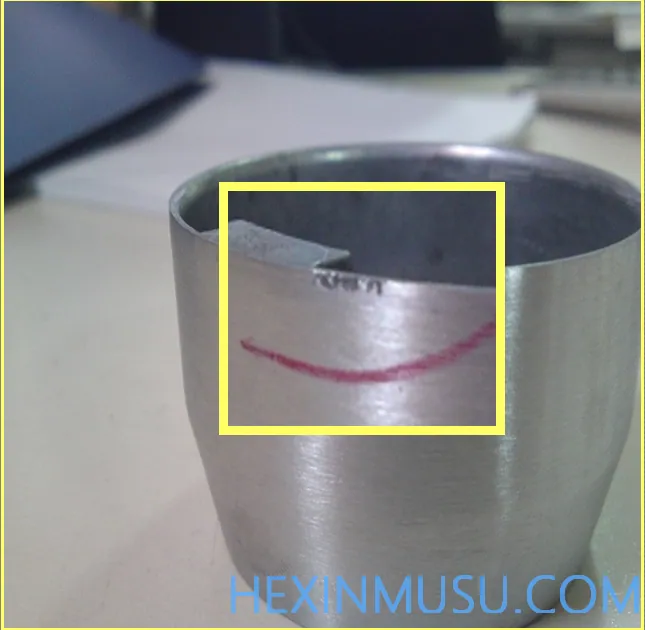
Characteristics: rough, irregular, relatively dense slag holes
Reason:
Sand casting common defects, die casting is relatively rare. Generally appear in small and medium-sized aluminum die casting parts of the risers root and processing end face. Use of contaminated castingaluminumMaterials that are coated with organic compounds and materials that are heavily oxidized and corroded will produce sand holes in the die casting.
Means of inspection: machine processing, polishing, sanding
Loose:
Characteristics: superficial unfastened macro-organization
Reason:
1. Lower mold temperature
2. Material temperature is too low
3. Small specific pressure
4. Too much paint
Inspection means: sanding, sand blowing
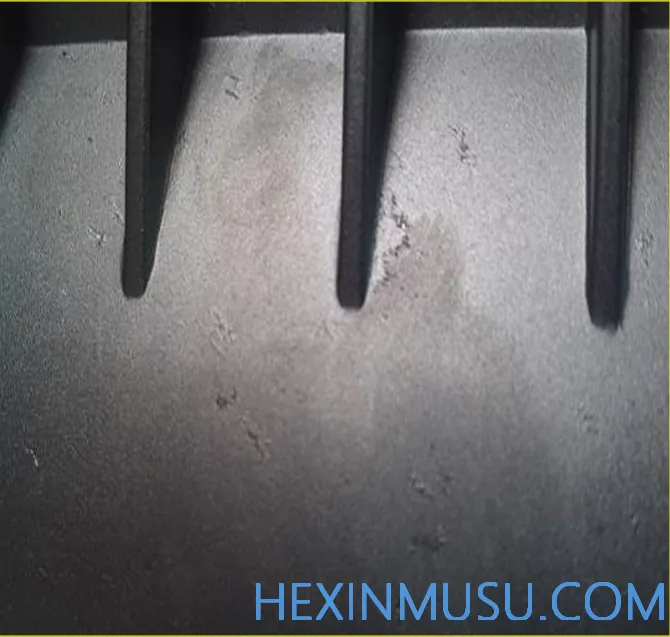
Cracks:
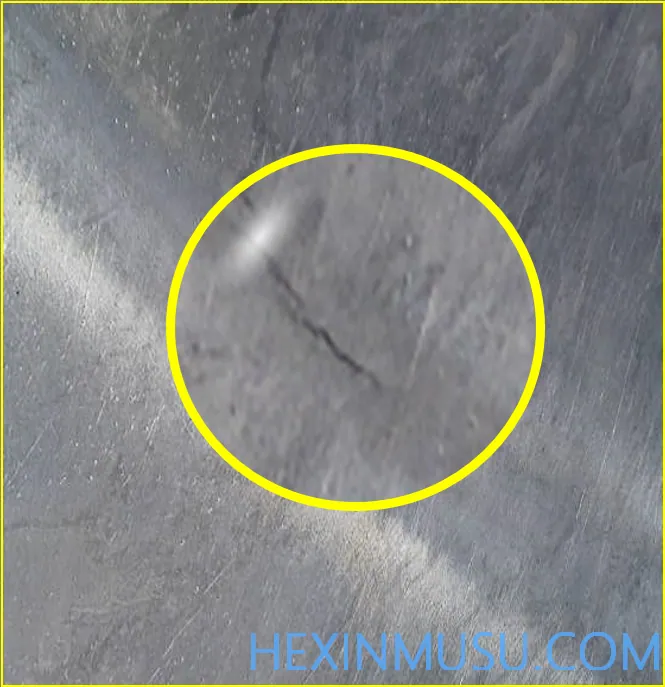
Characteristics: The alloy matrix is damaged or disconnected to form a thin filamentary gap, divided into penetrating and non-penetrating. May develop later.
Reason:
1. Unreasonable casting structure, shrinkage stress, rounded corners are too small.
2. Mold temperature is too low
3. Open the mold too late or too early
4. Too many impurities in the alloy: aluminum alloy containing zinc, copper, silicon is high.
5. Ejector deflection
Means of inspection: Visual inspection
Cold segregation:
Characteristics: A gap where metals at lower temperatures butt up against each other but are not fully fused, with an irregular linear shape. There are two types: penetrating and non-penetrating, which may develop under external force.
Reason:
1. Material temperature is too low, mold temperature is too low
2. Poor alloy fluidity
3. The gate is unreasonable and the process is too long
4. Pressure injection rate is too low
5. Low specific pressure
6. Liquid metal filling in separate strands
Means of inspection: Visual inspection
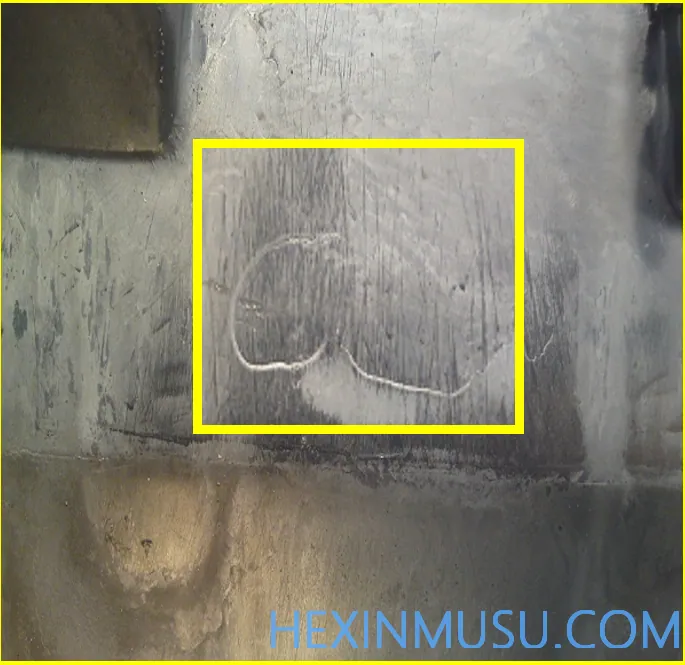
Wrong type:
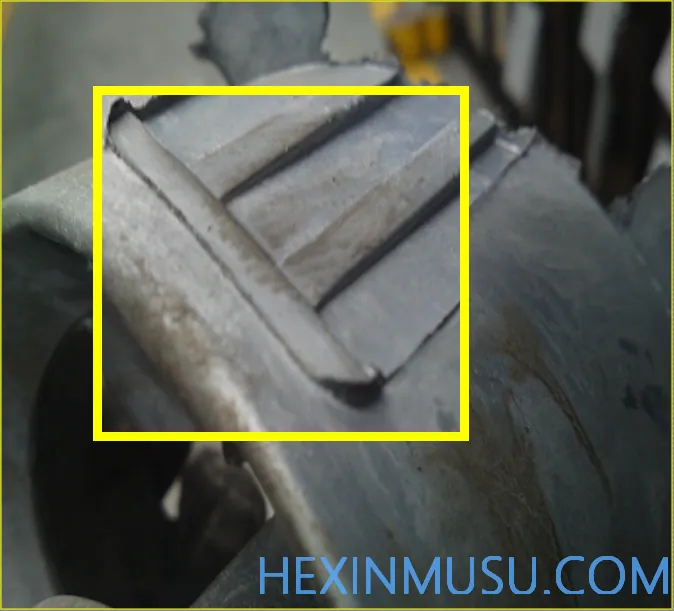
Characteristics: One part of the casting is misaligned and displaced from another part. Here I extend to the phenomenon of part of the slide not being in place.
Reason:
1. Manufacturing errors in the inserts of both halves
2. Mold insert displacement
3. Wear of mold guide parts
Inspection means: visual inspection after deburring, caliper measurement
dissection:
Characteristics: Double eyelid shape, partial incompleteness of the part, appearing at the edges of the slider and the parting surface.
Reason.
Slides, inserts or parting face edges stick and fail to be dissolved. A gap between the slide and the slider part, the alloy enters the solidification, or even the slider is not in place or jammed.
Means of inspection: Visual inspection after deburring
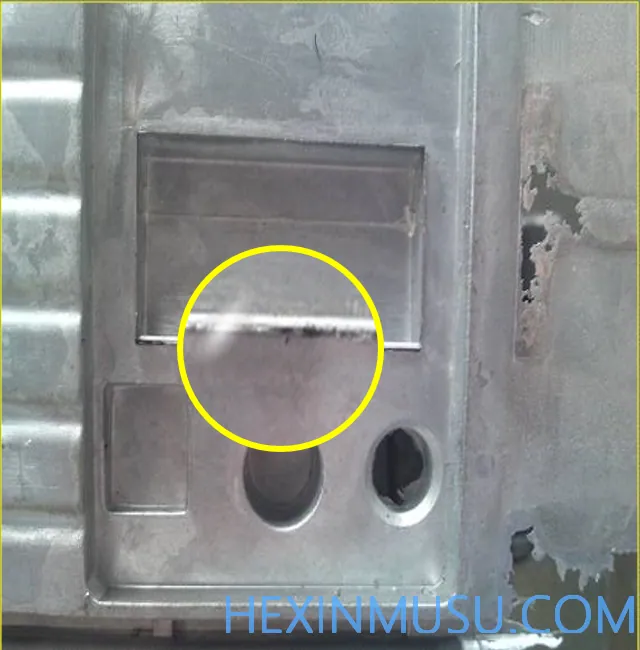
Excessive billet fronts (rising type)
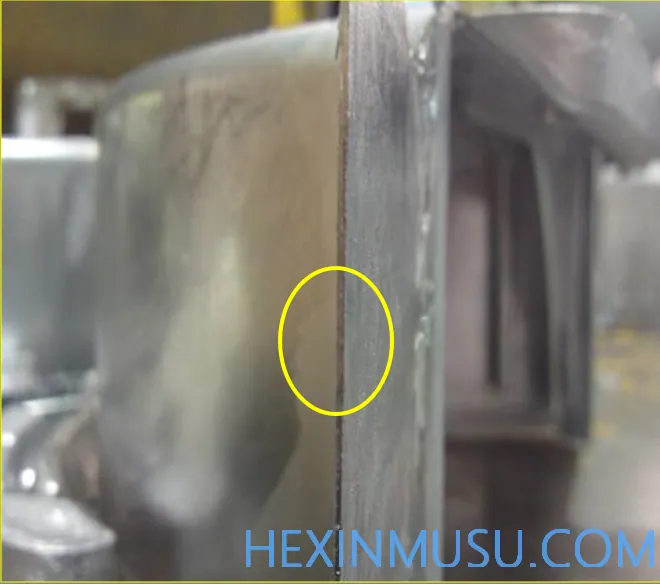
Characteristics: Excessive fretting on casting edges
Reason:
1. Die casting machine clamping force is not enough
2. Moulds are not closed tightly and moulds are damaged.
3. Parting surface residue not cleaned up
4. Excessive pressure injection rate
5. Incorrect mold design tonnage
Inspection means: caliper test
Bubbles:
Characteristics: Depression on the smooth surface of the casting
Reason:
1. casting thickness deviation is large
2. Material temperature is too high, alloy shrinkage is large
3. Lower boost
4. Smaller cross-section of the inner gate, less compensation
5. Higher mold temperature
Means of inspection: Spray paint
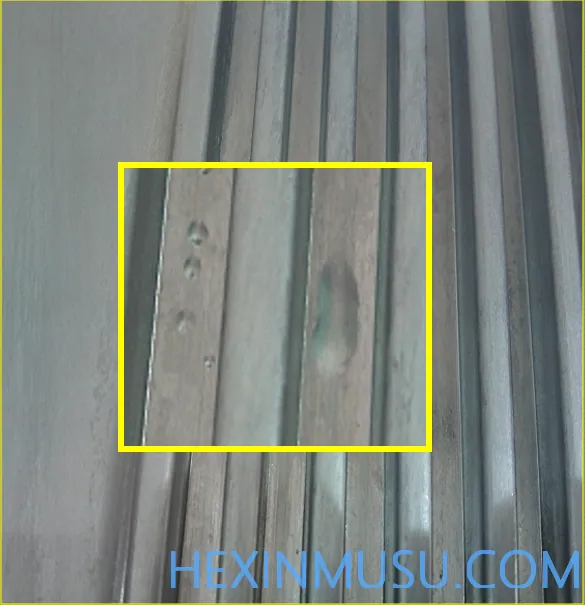
Shrinkage:
Characteristics: Depression on the smooth surface of the casting
Reason:
1. casting thickness deviation is large
2. Material temperature is too high, alloy shrinkage is large
3. Lower boost
4. Smaller cross-section of the inner gate, less compensation
5. Higher mold temperature
Means of inspection: Spray paint
Undercast:
Characteristics: Castings appear to be incompletely filled
Reason:
1. Low material temperature and mold temperature
2. Low injection speed
3. Poor alloy fluidity
4. Irrational casting system
5. Overspray of paint
6. Mold cavities are too deep, the mold is too complex
Means of inspection: Visual inspection
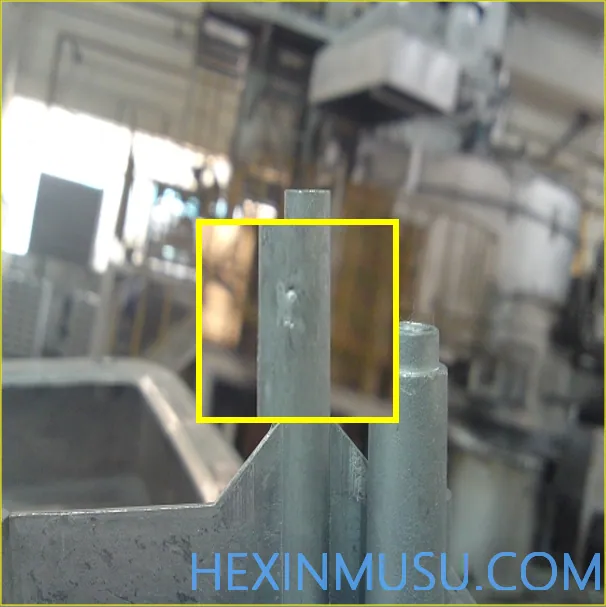
Carbon buildup:
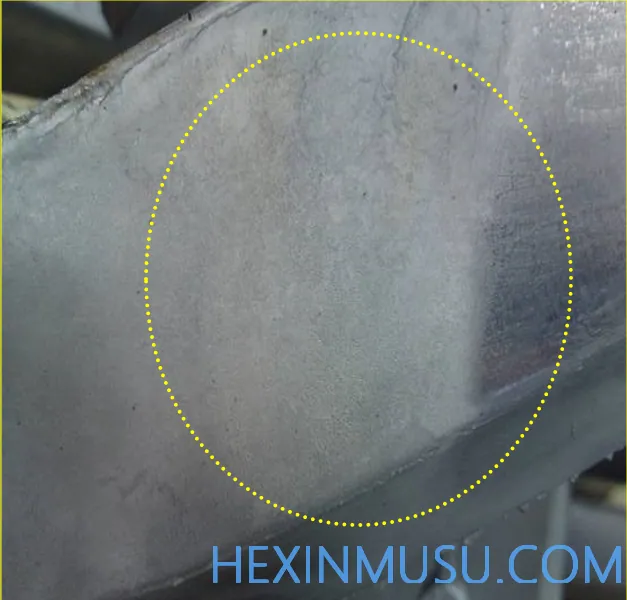
Characteristics: Oxide formed by the paint after high temperature adheres to the mold, and the casting surface is whitish and rough surface.
Reason:
1. Spraying too much paint
2. Paint is too thick
3. Low mold temperature
4. Not polished in time to remove
Inspection means: spray paint, visual inspection
Sticky mold:
Characteristics: Castings appear to be unfilled with alloy due to excess material adhering to the mold.
Reason:
1. Excess material adheres to the molds
2. Rough surface of the mold
3. Mold temperature is too high
4. Small tilt of mold pulling
5. Fast pouring speed, incorrect filling pattern
Inspection means: visual inspection, deburring observation
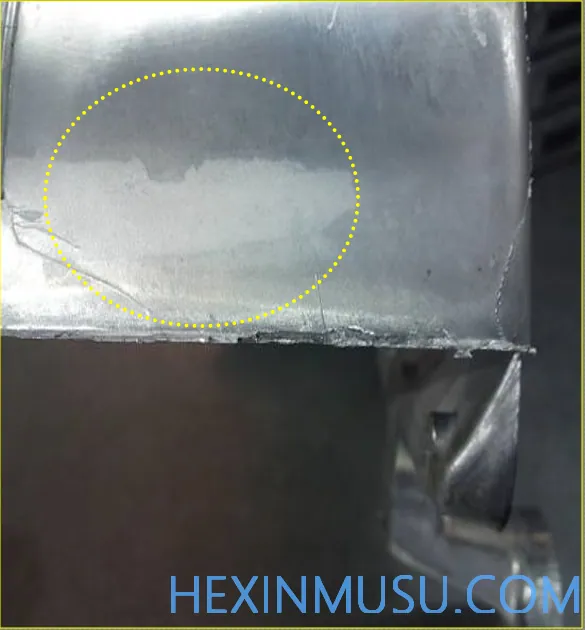
Strains:
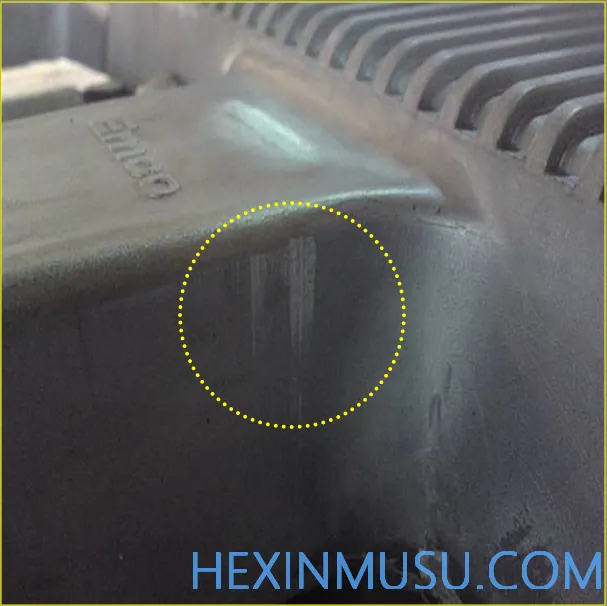
Characteristics: Castings appear to be unfilled with alloy due to excess material adhering to the mold.
Reason:
1. Excess material adheres to the molds
2. Rough surface of the mold
3. Mold temperature is too high
4. Small tilt of mold pulling
5. Fast pouring speed, incorrect filling pattern
Inspection means: visual inspection, deburring observation
Collapsed edges:
Characteristics: The casting surface appears concave bright surface
Reason.
1. Insufficient mold rigidity
2. The edge of the mold is extruded by high temperature for a long time.
3. Failure to remove the protruding part of the mold edge in time
Means of inspection: observation after grinding, visual inspection
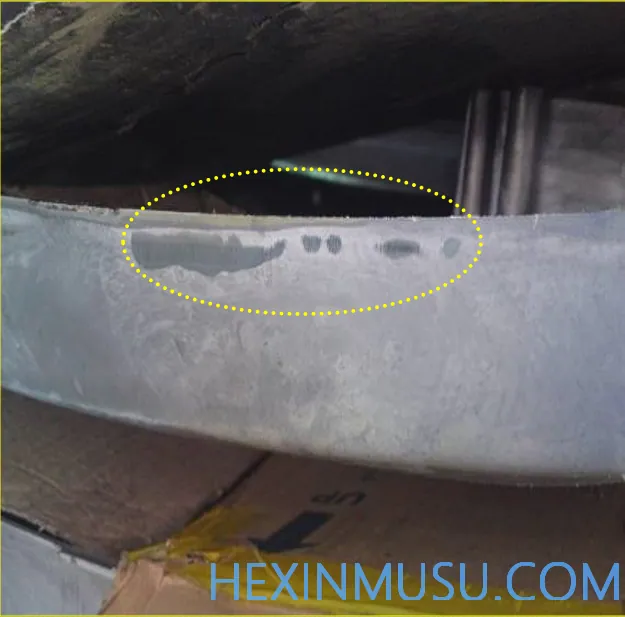
Flow marks:
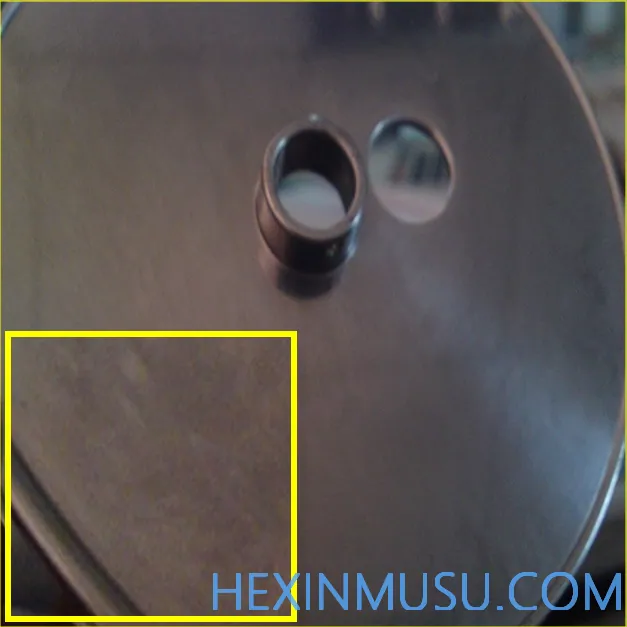
Characteristics: the same direction as the flow of metal, localized subsidence smooth lines
Reason:
1. Too much paint
2. Filling too fast
3. The two metal streams are not synchronized to fill the cavity left products
4. Lower mold temperature
Means of inspection: Polishing
Hemp side:
Characteristics:Surface small pockmarks distribution area
Reason:
1. Mold temperature is too low, material temperature is too low
2. The filler metal is dispersed into dense droplets, which hit the wall at high speed.
3. Inner gate thickness is small
Means of inspection: visual inspection, spray painting
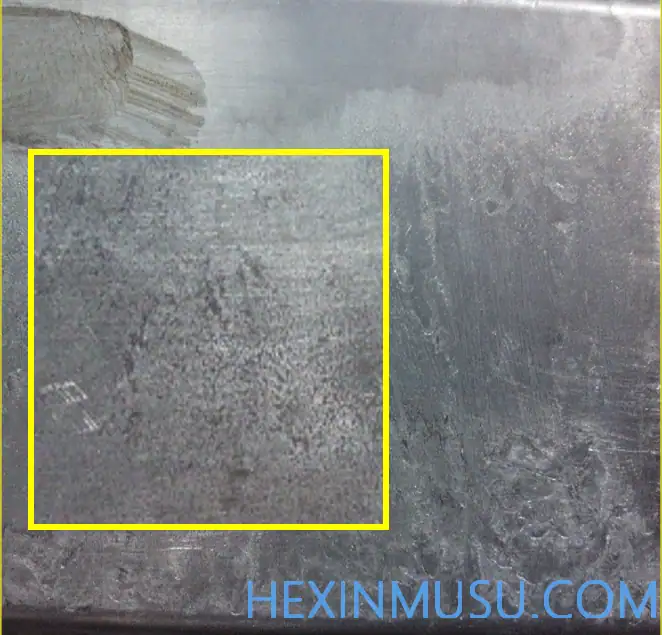
Flush:
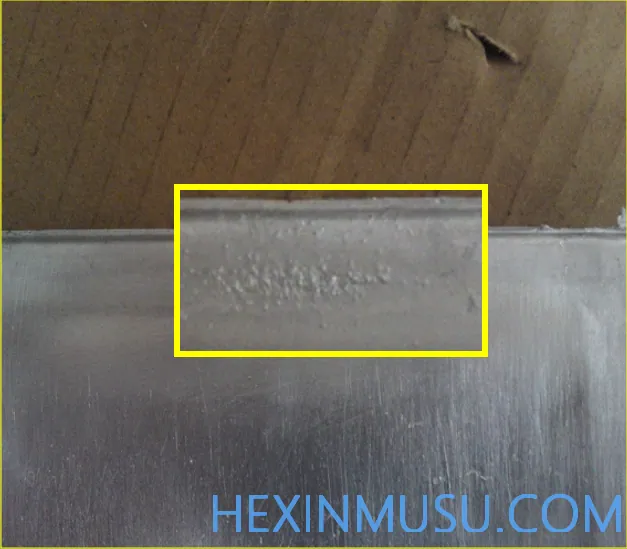
Characteristics: Large area of protrusion near the gate
Reason:
1. Insufficient mold rigidity
2. Mold aging
3. Pouring speed is too high
4. Material temperature is too high, not enough preheating
5. No regular heat treatment
Means of inspection: visual inspection, observation after sanding
Cracked:
Characteristics: mesh raised marks and metal spurs on the surface of the casting
Reason:
1. Hot and cold changes are intense
2. Improper mold materials
3. Material temperature is too high, not enough preheating
4. Lack of regular heat treatment
5. Rough mold surface
6. Pressure injection speed is too fast, positive impact on the cavity
Means of inspection: visual inspection, observation after sanding
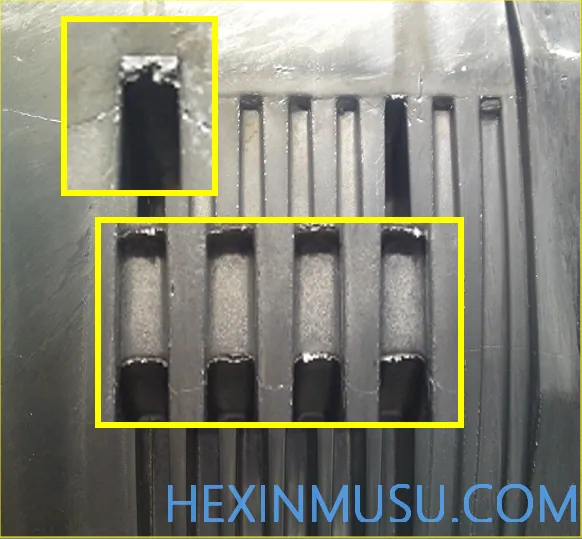
Top Drum:
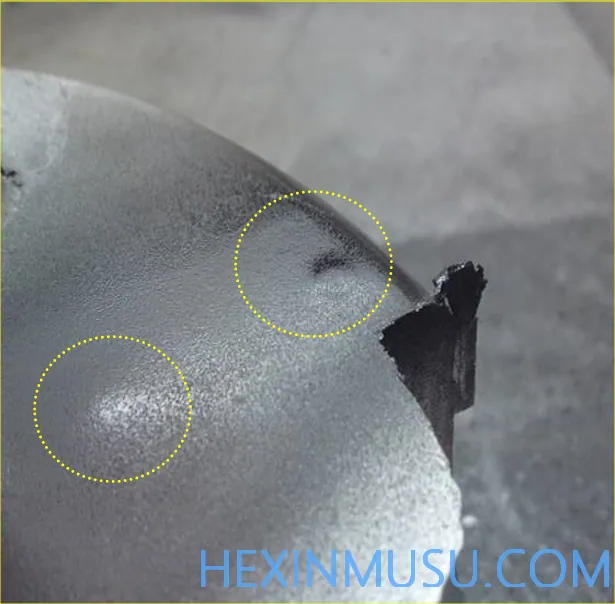
Characteristics: Surface bulging on the back of the top bar
Reason:
1. Insufficient mold opening time
2. Higher specific pressure
3. Inadequate paint spraying
4. Thin wall thickness
5. Uneven force on top bar
Inspection means: spray paint, visual inspection
Mold knock:
Characteristics: Knock marks left behind when mold adhesive material is removed
Reason:
1. Poor mold rigidity
2. Improper handling when cleaning up excess material
3. Failure to repair knock marks in a timely manner
Means of inspection: visual inspection, spray painting
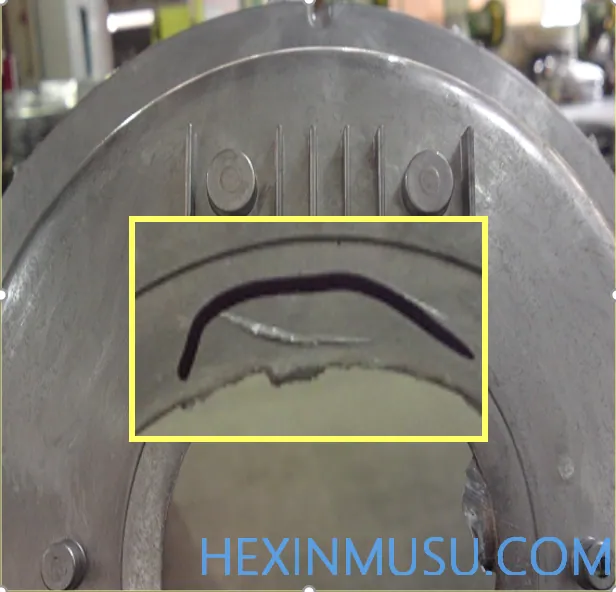
Mold corrosion:
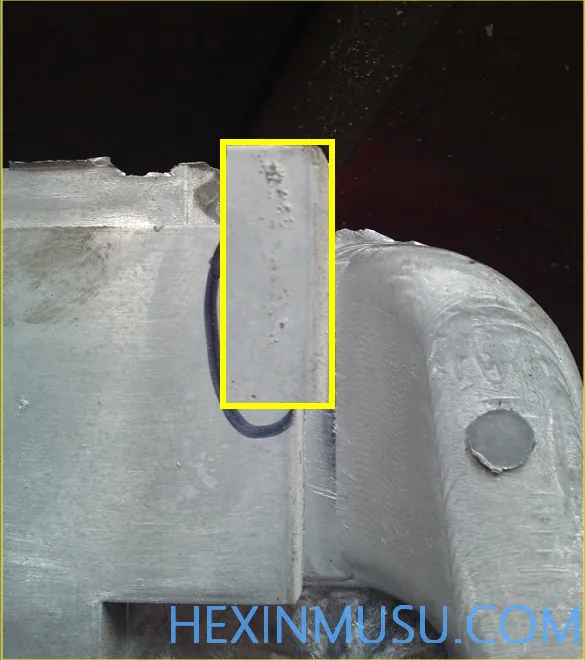
Characteristics: Raised pitting on the surface of the part in an area characteristic of mold corrosion
Reason:
1. Failure to clean the mold in time after production
2. Failure to give timely maintenance of the mold surface
Means of inspection: visual inspection, spray painting
internal flaw
Insufficient filling, leakage, substandard mechanical properties
Manifestations: air holes, shrinkage holes, sand holes, loose, mechanical test failure, insufficient tensile strength, etc.
Means of testing:
Trial machining (turning, milling, drilling, sanding, blowing, polishing, sanding, etc.)
Leakage test
Tensile testing
dimensional defect
Deformation, excessive shrinkage
JIS standard applies if flatness is not marked on the drawings:
Maximum casting size Tolerance in (mm)
2. Normal shrinkage of aluminum alloy die casting: 0.3%-0.5%
material defect
1. Hard point: knife breakage during machine processing
2. Environmental requirements: such as ROHS
3. Unqualified chemical composition: mechanical properties
4. Corrosion resistance, etc.


