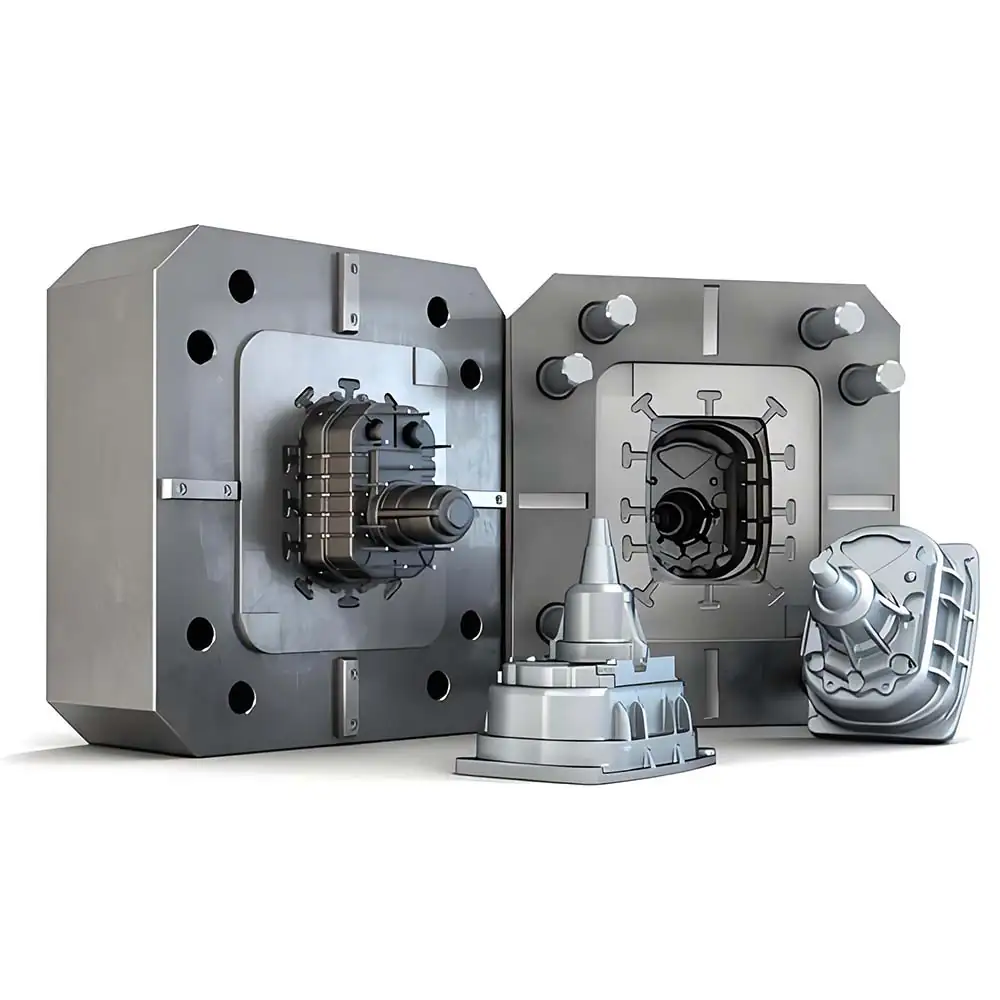
Aluminum die casting mold acceptance criteria
Date: 2024-08-05 Categories: Blog Views: 1215
I. Purpose of standard-setting

1. Reduce downtime and production stoppage caused by molds, improve labor productivity and reduce manufacturing costs.
2. Promote mold manufacturers to improve the level and quality of mold manufacturing and reduce their after-sales service costs.
3. Provide customers to watch and compare the molds with other suppliers.
4. Determine the basis for qualified production of the mold.
II. Basis of formulation
1.Ningbo Huxin MouldingLtd. experience summarized in long-term production practice.
2. Statistical data on the causes of mold failure.
3. Relevant national standards.
III. Standard clauses
I. Mold size range.
1. Die lining
(1) After the dynamic and static liner mold fine positioning mating surface research and matching, its coloring area is not less than 75% of the total mating surface, and the coloring point should be evenly distributed.
(2) The material is executed according to the terms specified in the mold ordering contract. Hardness, if not otherwise specified, shall be executed according to HRC42~48.
(3) Height of liner mold above mold frame:
a. Die casting machine using molds below 630t (including 630t) 0.20~0.25mm
b. Die casting machine mold above 630t 0.25~0.35mm
c. The above conditions shall be met provided that the bottom surface of the liner mold shall be in full contact with the corresponding mating surface of the mold frame after assembly of the mold frame.
(4) The length of the mating section L and the diameter of the hole in the top rod of the liner mold:
a. Ф6 or less top rod (including Ф6) L ≧20mm
b. Ф8 ~ Ф12 (including Ф12) L = 30~35mm
c. Ф12 above L ≧50mm
(5) Accuracy of hole diameter of mating section: H7
(6) Length of the aluminum surface of the liner mold seal L
a. Below 630t (including 630t) L ≧ 55mm
b. 630t~1600t L ≧80mm
c. 2000t (including 2000t) or more L ≧ 120mm
(7) Accuracy of mold parting surfaces of lined molds
There is at least one point of contact in any 30*30mm area after the parting surface is machined.
2. Mold frame
(1) Hardness: HRC28~35
(2) Leave a process hole for removing the liner mold with the following diameters.
a. Molds under 630t (including 630t) φ20~φ30mm
b.900t φ30~φ40mm
c.Above 1600t(including 1600t)≧φ50mm
3.Molding slider
Material and hardness are the same as the liner mold.
4. Pressure plate, slide plate, guide plate
(1) Material: T10/H13
(2) Hardness: T10 HRC50~55, H13 HRC46-48
(3) When H13 steel is used, the heat treatment is: overall quenching + surface nitriding.
5. Slider block
(1) Material: H13
(2) Hardness: HRC40~44
(3) The length dimension of the carriage base is at least 1.5 times the width. (Unless otherwise agreed by both parties)
(4) When H13 steel is used, the heat treatment is: overall quenching + surface nitriding
6. Integral mold
(1) Dimensional accuracy of push plate and fixed plate
a. Depth of top bar step hole: H+0.05mm
b. Diameter of actuator mating hole: D+0.5mm
C.Hardness ≧ HRC30
(2) Push plate guide column, guide sleeve diameter with clearance: 0.1 ~ 0.15mm
(3) Close mold guide pillar, guide sleeve diameter with precision: H8/e7
(4) Slide fit clearance
a. The hard limit of the slide must be in full contact with the mating surface of the liner mold, and its contact accuracy is at least 3 points of contact in any 25*25mm area.
b. Under the free state of the slider, the clearance between its bottom surface and the corresponding mating surface of the liner mold ≦ 0.03mm.
c. The gap between both sides of the slider and the liner mold is ≤0.04mm, and after the research and matching, there are at least 3 points of contact in the area of 25*25mm on any one of the mating surfaces.
d. After the slider is connected with the slider seat, the gap between the mating surfaces in the free state ≦0.04mm.
e. Slider seat and bottom slide plate free state fit clearance ≦0.04mm.
f. Slider seat and slider, bottom slide plate assembly, still need to check this clause in the a, b, c three, the same standard.
g. Finally, the guide bar, pressure plate assembly research and mating and then check a, b, c three, the same standard, while the other research and mating surface gap between ≦ 0.04mm, pressure plate and slider with surface contact accuracy of not less than 75% of the total mating surface, and uniform distribution of contact points.
(5) Wedge tightening block
a. The wedges are of replaceable construction.
b. The wedges shall not be mated by means of a cushioning medium under the wedge tightening block.
c. Material: T10
d. Hardness: HRC47~50
e. Research and matching standards: the coloring area is not less than 75% of the whole matching surface, and the coloring points are evenly distributed.
(6) The positioning accuracy of the whole mold should be consistent with the precision positioning accuracy of the liner mold.
7. Other
(1) top rod, replaceable core, inlet and outlet pipe its body and mold with its hole, interface should be marked, and one by one correspondence. Water pipe oil pipe import and export installation of right-angle elbow.


